
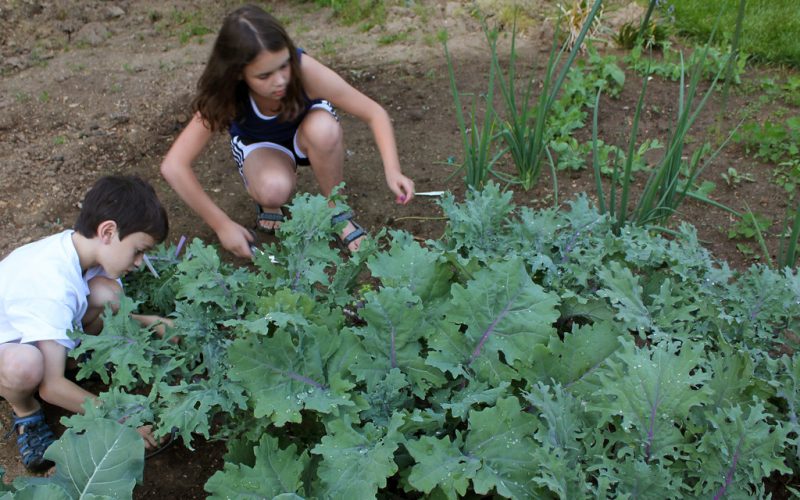
What to do with the kale in your garden
Do you know how to harvest kale from your garden? The great news is that you don’t have to devote a large amount of space or even grow a large number of plants to produce an impressive amount of this superfood. With proper care and harvesting, you can enjoy this annual leafy green from about 4 inches tall up through the first snowfall in your area. Keep reading to learn how to harvest kale so it keeps growing throughout the season. It might be confusing to pick your own kale if you are growing it yourself. To harvest the leaves you only need a pair or pruning shears. Enjoy your nutritious and delicious kale by removing the older, larger leaves.

1. Wait approximately 70 days from planting to harvest.
This is the average time it takes for kale plants to produce their first leaves that you can pick. Before you can harvest your kale leaves, the plant should be between 8-10 inches (20-25cm) tall. Baby kale leaves can be harvested earlier, but it is better to not pick too many otherwise the plant will struggle to mature properly.
2. Use pruning shears to trim your trees.
Harvesting kale is made easier by pruning shears. These can be purchased at any garden or home improvement shop. You will need a bag, basket or bucket to place the leaves.
3. Use your pruning shears to remove the largest leaves.
The bottom is where the largest and most important leaves of a Kale plant are located. The top is home to smaller and more youthful leaves. One hand is enough to hold the leaf that you wish to cut. Next, use your other hand with your shears to cut the stem from that leaf. To ensure that you get rid of the entire leaf, cut the stem close to its base.
4. Throw away any yellowing or damaged leaves.
Sometimes, pests can eat a portion of the kale leaves and leave small holes. These leaves can be cut in half, but you should keep the rest separate from the ones that you intend to use. You can either compost or toss the yellow or damaged kale leaves.
5. Do not cut the roots of the plants.
Kale plants can also be harvested multiple times. However, it is best to keep the plant intact. You can only cut the stems from the leaves you wish to pick and leave the root intact.
6. Pick the new large leaves in a week.
Kale should be picked regularly. Pests can be attracted to kale if it isn’t harvested for more than one week. The smaller, more tender leaves can be grown by cutting off the older, larger leaves. You should see more large leaves after about a week. Pick only the best leaves and keep the rest of the plant’s small, newer leaves.
7. Wash all leaves that you have picked.
To remove dirt and debris, run the kale under cold water. If you are not planning to eat the stems, remove them now. Avoid soaking the leaves in hot water as this can cause them to wilt.
8. Let them dry.
To absorb any water, pat them with a piece of paper towel. Allow them to air dry for 10 minutes on a clean surface. Before storing them, ensure they are dry completely. They will quickly turn wilted and slimy if they are kept wet.
9. Put the leaves in a plastic bag.
To prevent moisture from affecting the kale leaves, place a piece of paper towel inside the bag. Press down on the bag to squeeze as much air as possible out of it before sealing it. Seal the bag and place in your refrigerator’s vegetable drawer. You can also use a shelf on the bottom of your fridge if you don’t have one.
10. The leaves should be used within 1-2 weeks.
Kale should be eaten until it turns yellow, wilted or slimy. You can mix the kale and your favorite vegetables to make a delicious salad. Or, you can search online for innovative recipes that use kale.
Sources:
https://blog.gardenuity.com/how-to-grow-kale/
https://www.articleinsider.com/ufaq/how-much-compost-do-i-need/